Go Back
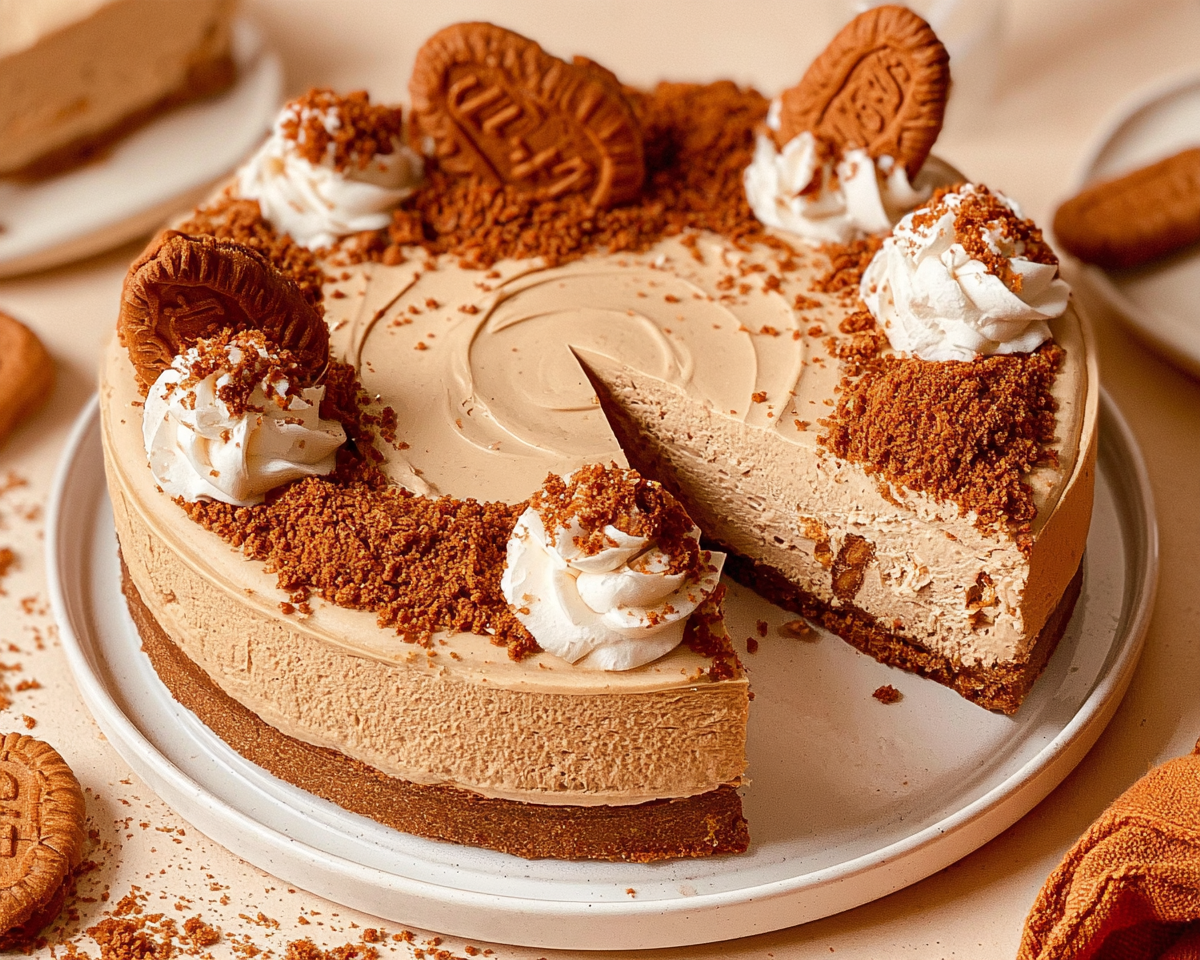
Vegan Biscoff cheesecake with cookie crumbs and whipped cream
Emma Aline

Vegan Biscoff Cheesecake

This no-bake vegan Biscoff cheesecake has a crunchy Biscoff cookie crust, a thick and creamy cookie butter filling, and a smooth Biscoff topping. A little flaky sea salt on top balances the sweetness.
Prep Time 30 minutes
Chilling Time 8 hours
Total Time 8 hours 30 minutes
Servings: 12 slices
Course: Dessert
Cuisine: American

Ingredients
  

Biscoff Crust
  • 10 1/2 ounces Biscoff cookies
  • 7 tablespoons vegan butter melted
Biscoff Cheesecake Filling
  • 18 ounces vegan cream cheese
  • 14 ounces smooth Biscoff cookie butter
  • 3/4 cup powdered sugar
  • 1 cup vegan whipping cream cold
  • 1 teaspoon vanilla extract
  • 2 tablespoons fresh lemon juice
Topping
  • 5 ounces smooth Biscoff cookie butter
  • Crushed Biscoff cookies for decorating
  • Flaky sea salt for finishing

Equipment

  • 8-inch springform pan
  • Parchment paper
  • Food processor or rolling pin
  • Electric hand mixer or stand mixer
  • Large mixing bowls
  • Offset spatula
  • Measuring cups and spoons
  • Rubber spatula

Method
 

  1. Prepare the pan. Line the bottom of an 8-inch springform pan with parchment paper.
  2. Make the crust. Crush the Biscoff cookies into fine crumbs using a food processor. You can also place them in a sealed bag and crush them with a rolling pin.
  3. Add the butter. Mix the cookie crumbs with the melted vegan butter until evenly coated.
  4. Press the crust. Transfer the mixture to the prepared pan and press it firmly into an even layer. The bottom of a measuring cup works well for packing it down. Place the crust in the fridge while you make the filling.
  5. Whip the cream. Add the cold vegan whipping cream to a mixing bowl and whip until it holds stiff peaks. Set aside.
  6. Make the Biscoff filling. In a separate large bowl, beat the vegan cream cheese, Biscoff spread, powdered sugar, vanilla, and lemon juice until smooth.
  7. Fold in the cream. Gently fold the whipped cream into the Biscoff mixture until evenly combined. The filling should look thick and fluffy.
  8. Assemble the cheesecake. Spoon the filling over the chilled crust and spread it into an even layer. Smooth the top with a spatula.
  9. Chill overnight. Cover the pan and refrigerate overnight. Before removing the cheesecake from the pan, check that the center feels firm and holds its shape.
  10. Add the topping. Gently warm the Biscoff spread just until it becomes pourable. Don't let it get hot. Pour it over the chilled cheesecake and gently spread it across the top.
  11. Decorate. Finish with crushed Biscoff cookies and a small pinch of flaky sea salt. Keep the cheesecake chilled until you're ready to serve.
Notes

  • Vegan cream cheese: Use a thick variety rather than one that is very soft or watery. This helps the cheesecake hold its shape.
  • Vegan whipping cream: Make sure the cream is designed for whipping and keep it cold before you use it.
  • Don't overmix: Fold the whipped cream into the filling gently and stop once everything is combined.
  • Give it time to set: Refrigerate the cheesecake overnight before removing it from the pan.
  • For clean slices: Run a sharp knife under warm water, dry it, and wipe the blade clean between cuts.
  • Flaky salt: You only need a small pinch. It should balance the sweetness rather than make the cheesecake taste salty.
  • Storage: Keep the cheesecake covered in the refrigerator for up to 4 days. Add whole Biscoff cookies close to serving if you want them to stay crisp.